
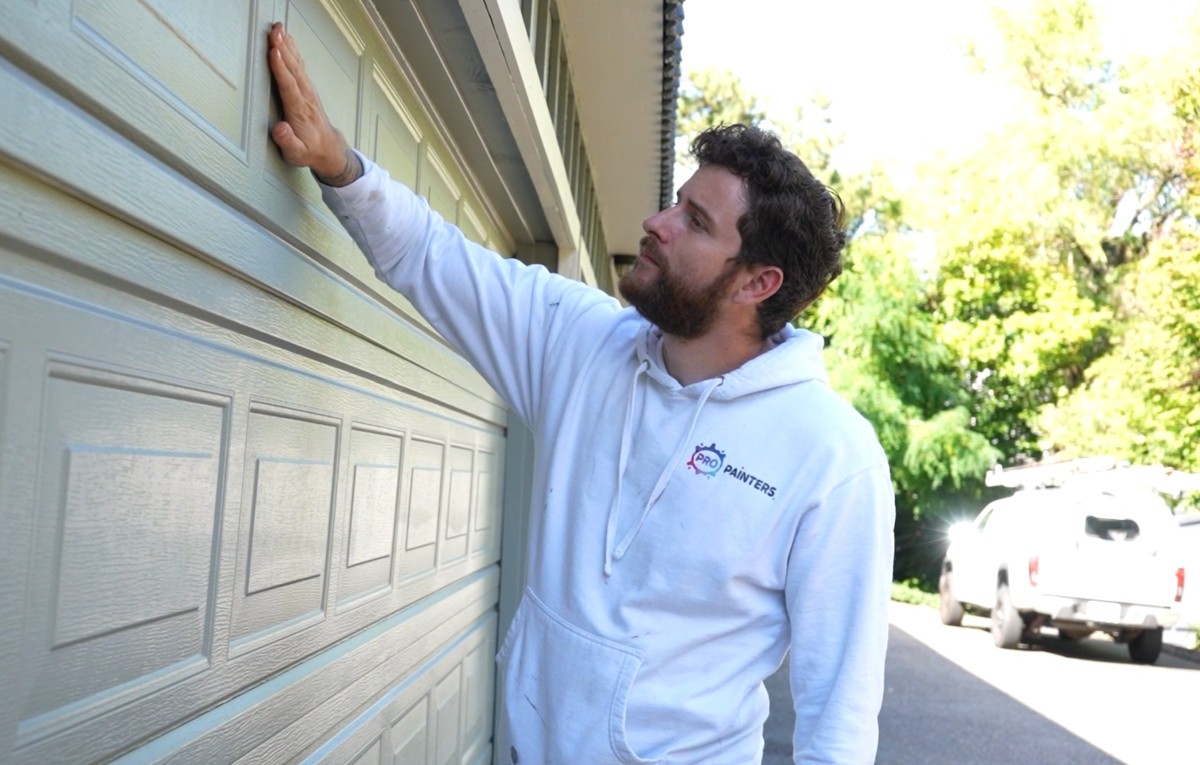
DIY Interior Painting Tips for Flawless Results

Embarking on a DIY interior painting project can rejuvenate your living space, giving it a fresh, new look. However, achieving professional-quality results requires more than just enthusiasm. It involves careful planning, preparation, and the right techniques. This article offers a comprehensive step-by-step guide to help you navigate your DIY painting project for flawless finishes.
Preparation: The Foundation of a Great Paint Job
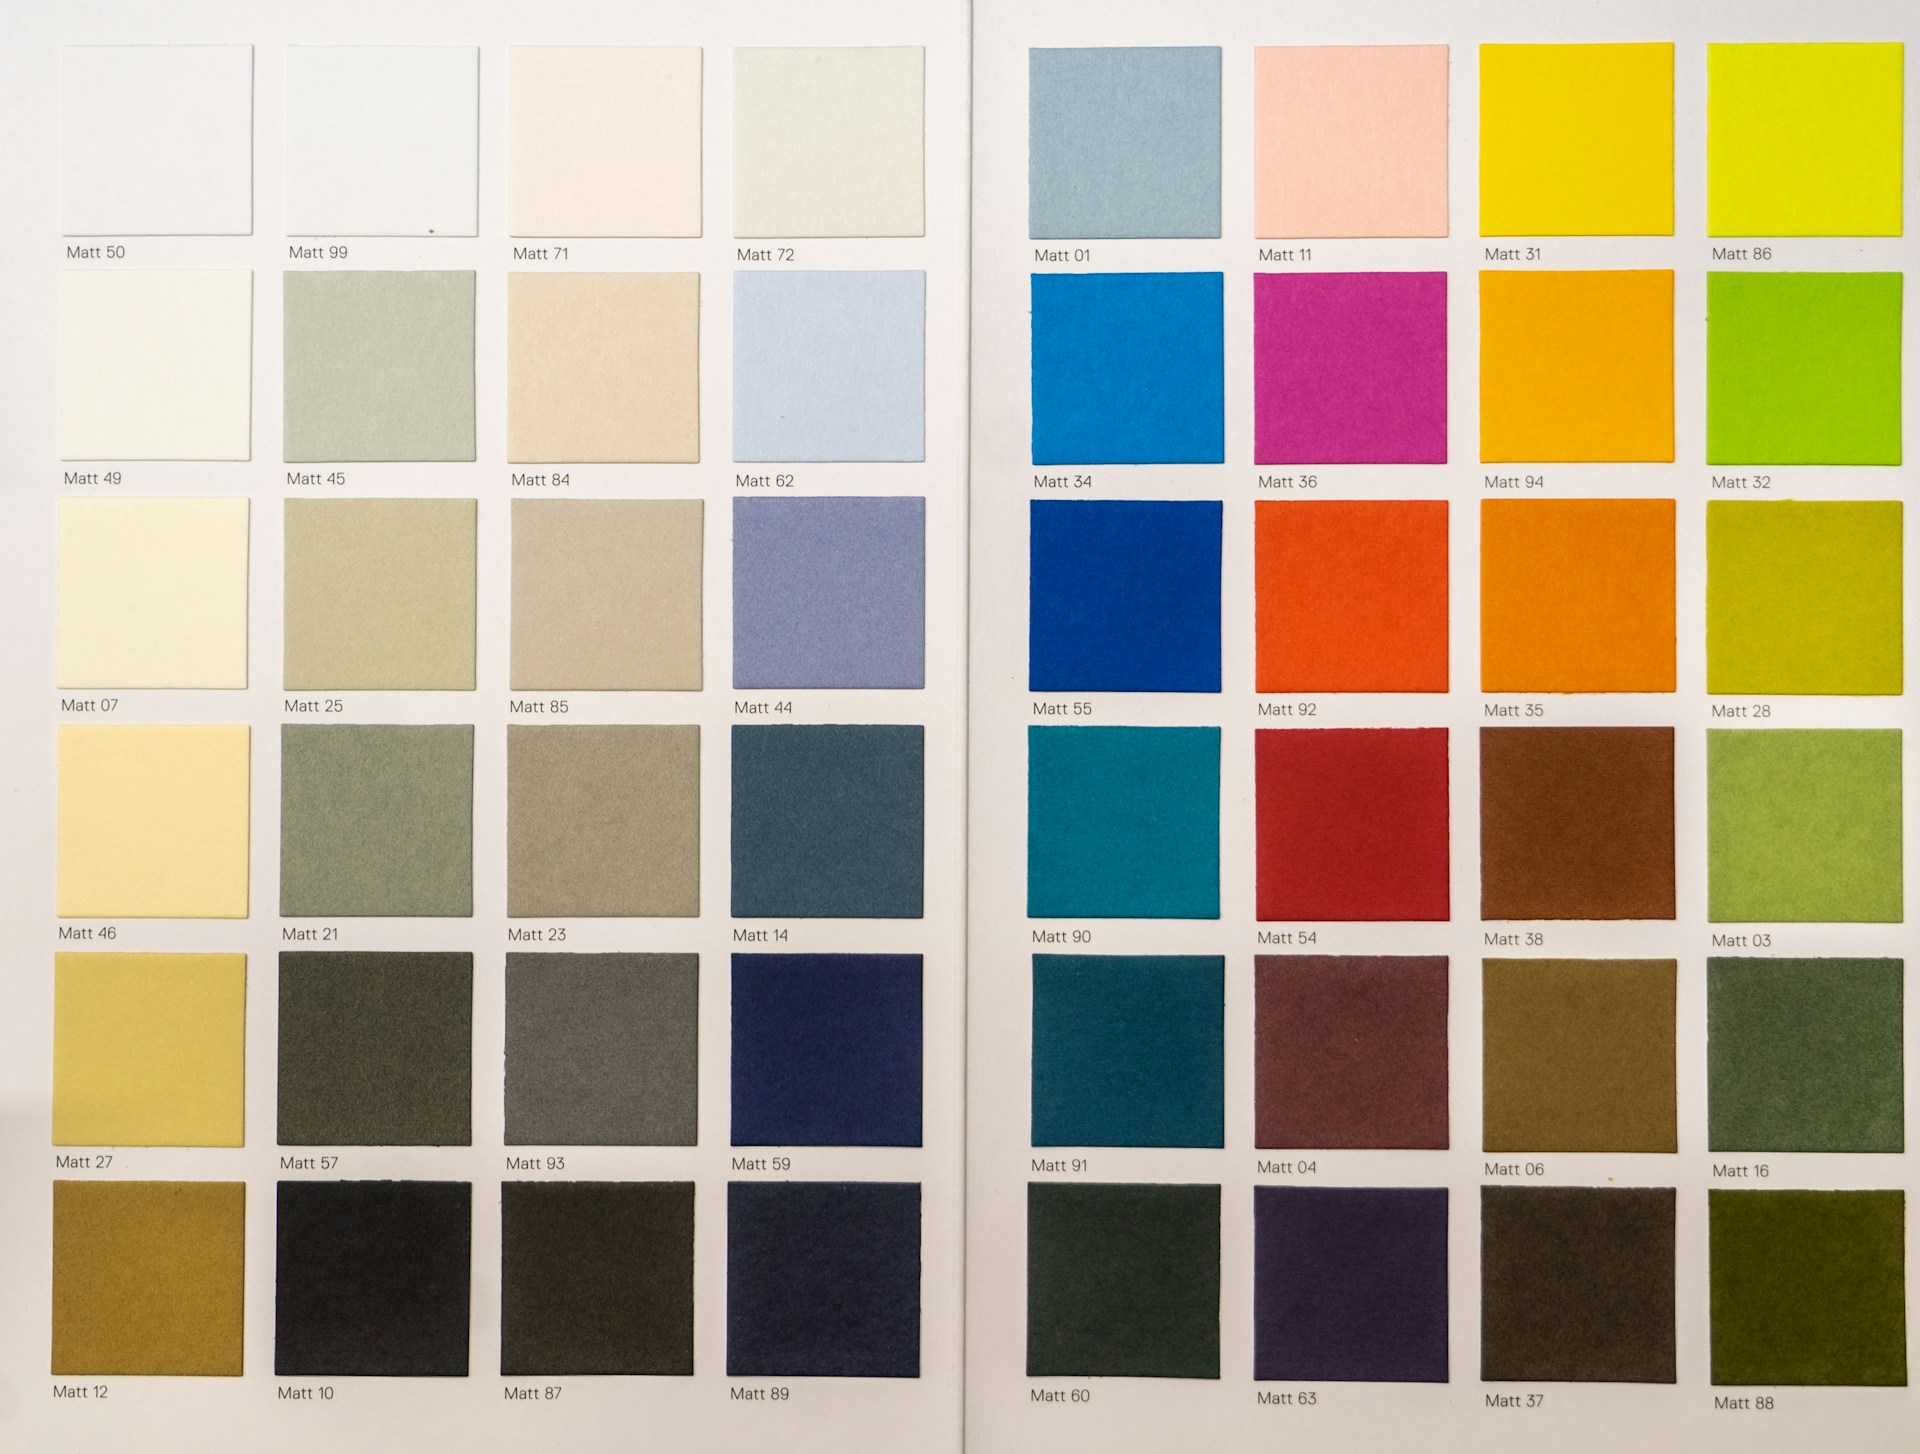
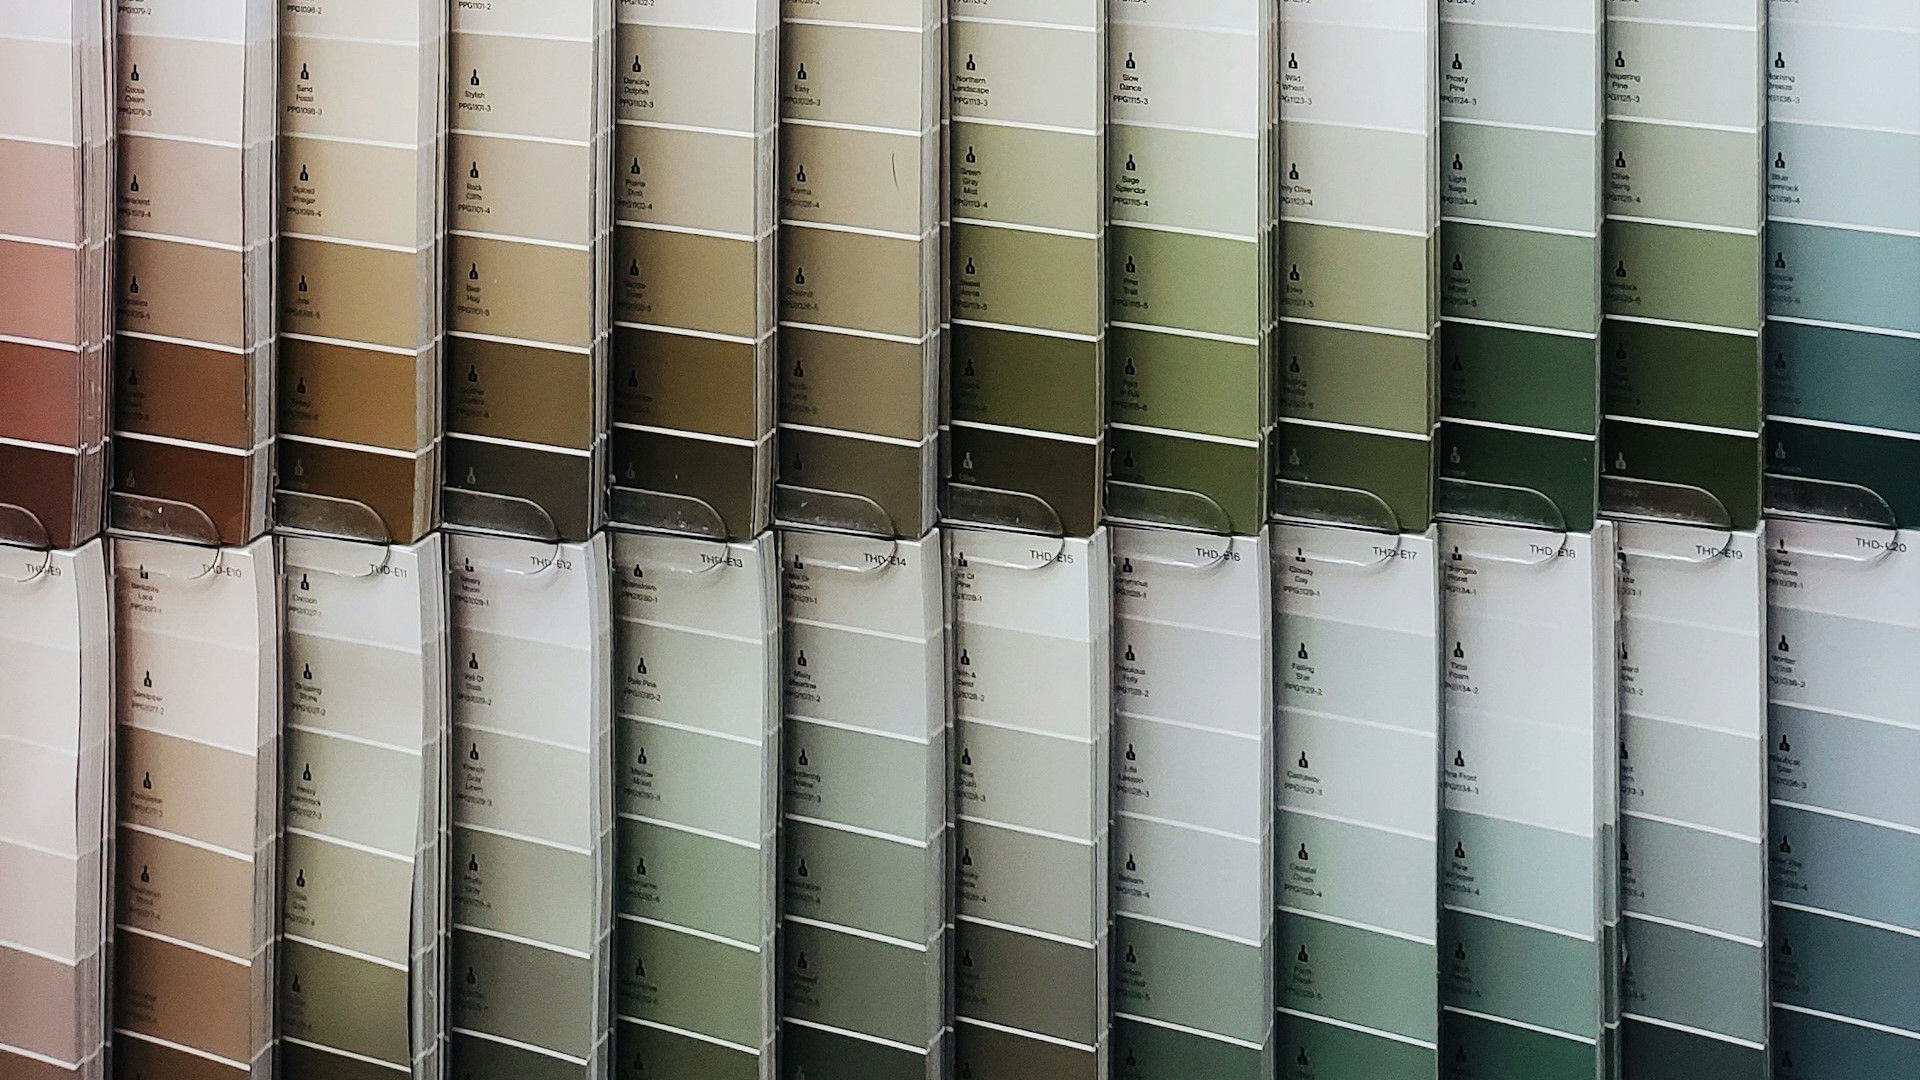
1. Choose Your Paint Wisely
Select the type of paint according to the room's function. High-traffic areas benefit from durable, washable paints, while living areas may call for something with a bit less sheen. Don't forget to consider the paint's finish, from matte to high gloss.
2. Gather Your Supplies
- Quality Brushes and Rollers: Invest in good brushes and rollers for a smoother application.
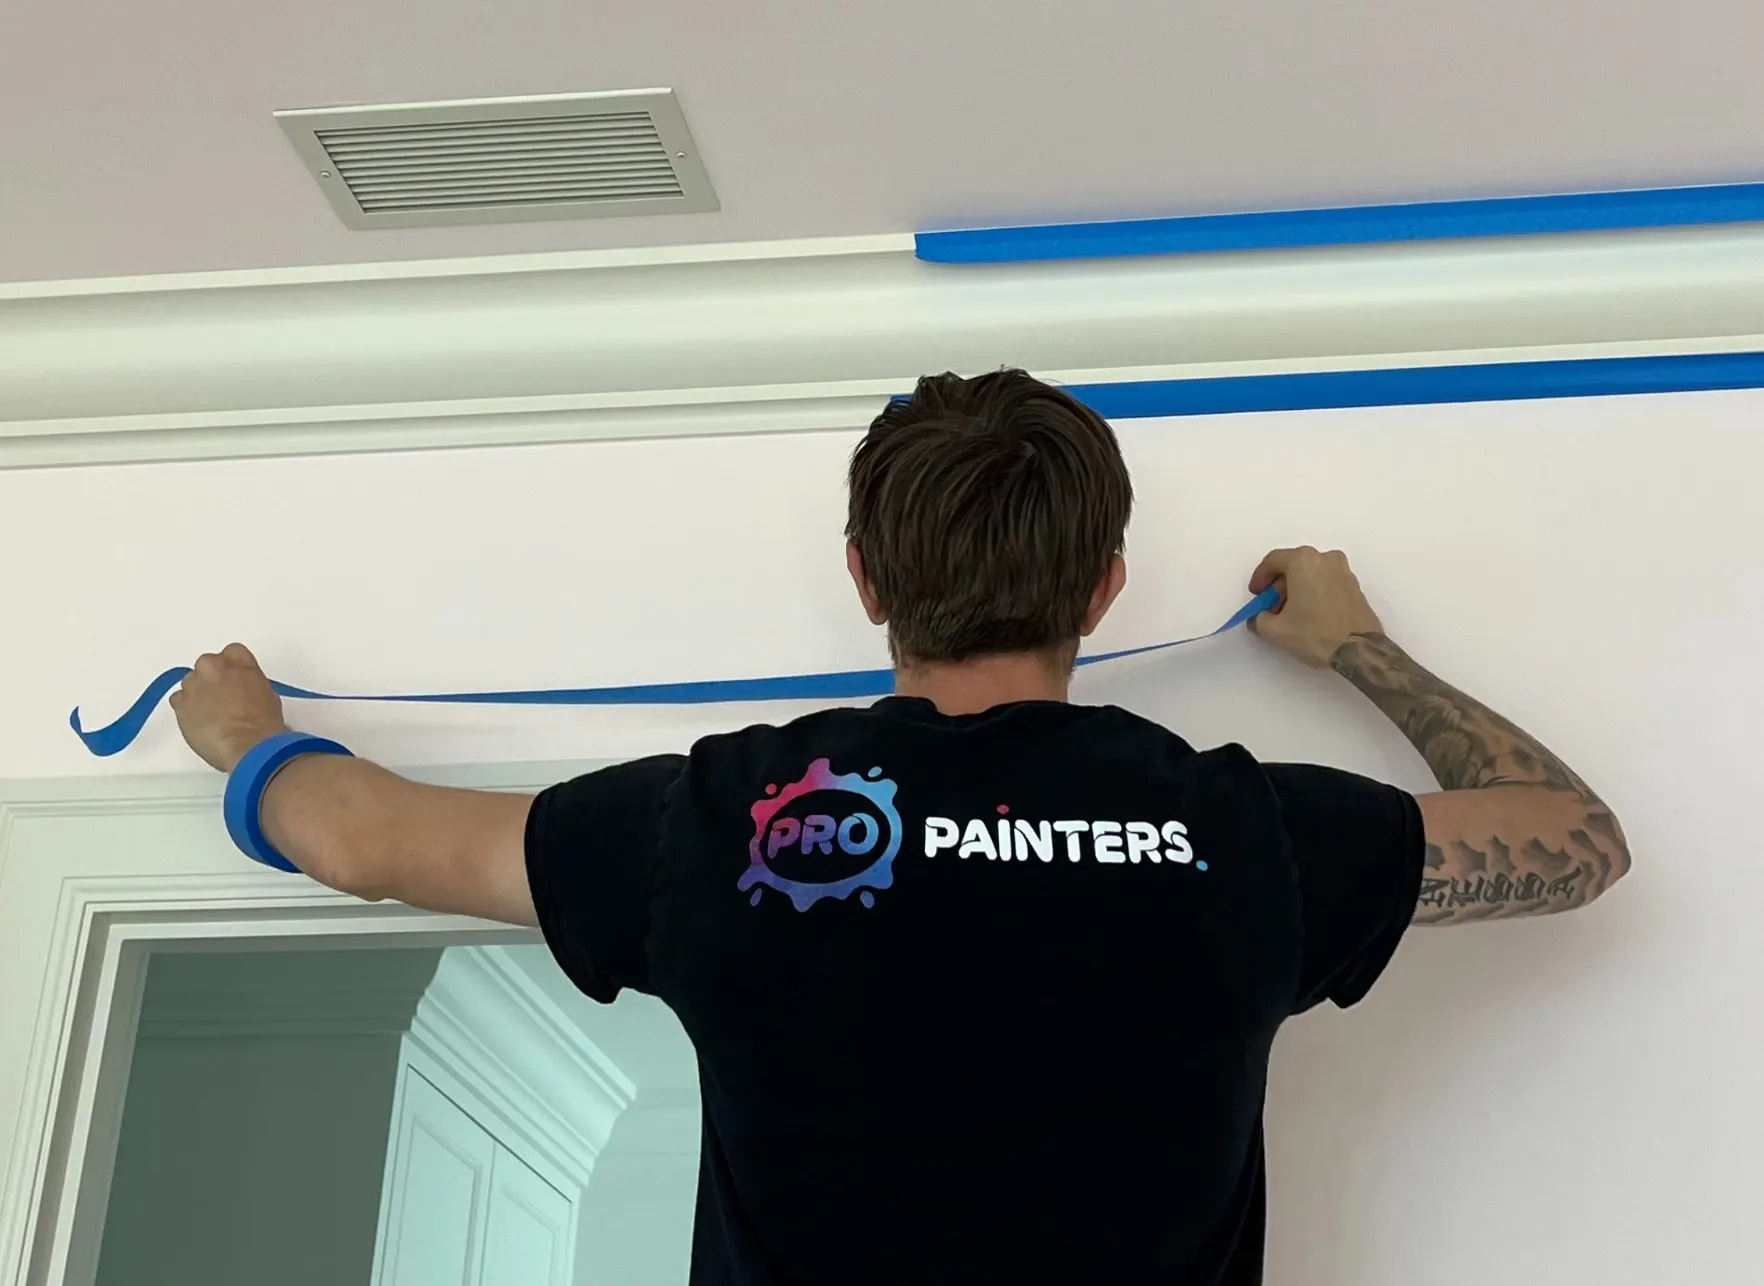
- Painter’s Tape: For protecting trim and creating sharp lines.
- Drop Cloths: To protect your floors and furniture.
- Sandpaper: For smoothing walls.
- Primer: Especially if you’re making drastic color changes or painting over a darker color.
3. Prepare the Room
Remove furniture or move it to the center of the room and cover it with drop cloths. Use the painter's tape to mask off areas like baseboards, trim, and window sills.
4. Prep the Walls
Fill any holes or cracks with spackling paste, then sand smoothly. Clean walls with a damp cloth to remove dust and grime, ensuring the paint adheres properly.
Painting Techniques for a Professional Finish
5. Priming
Priming is crucial, particularly for new walls, drastic color changes, or covering imperfections. It ensures a uniform finish and enhances paint adhesion.
6. Cutting In
- Start with Cutting In: Use a brush to “cut in,” painting along the edges where the ceiling meets the wall, around doors, and along baseboards.
- Technique: Dip only the first third of the brush bristles into the paint, wiping off the excess. Start a few inches away from the edge and paint towards it, straightening out the line as you get closer.
7. Rolling the Walls
- Saturate the Roller: Dip the roller into the paint tray, fully covering it with paint, then roll it back and forth on the tray’s platform to remove excess paint.
- Use an ‘M’ or ‘W’ Pattern: Start by applying the paint in a 2’ by 2’ section, using an M or W pattern for even distribution, then fill in the pattern without lifting the roller, ensuring an even coat.
8. Applying Multiple Coats
Wait for the paint to dry completely before applying the second coat. This can take anywhere from a few hours to overnight, depending on the paint type and environmental conditions.
Finishing Touches and Clean-up
9. Removing the Painter’s Tape
Peel off the tape while the paint is still a bit damp to avoid chipping. Pull the tape back on itself for a clean line.
10. Touch-ups and Cleaning
Use a small brush for any necessary touch-ups. Clean your brushes and rollers with soap and water (for water-based paints) or mineral spirits (for oil-based paints), allowing them to dry before storing them.
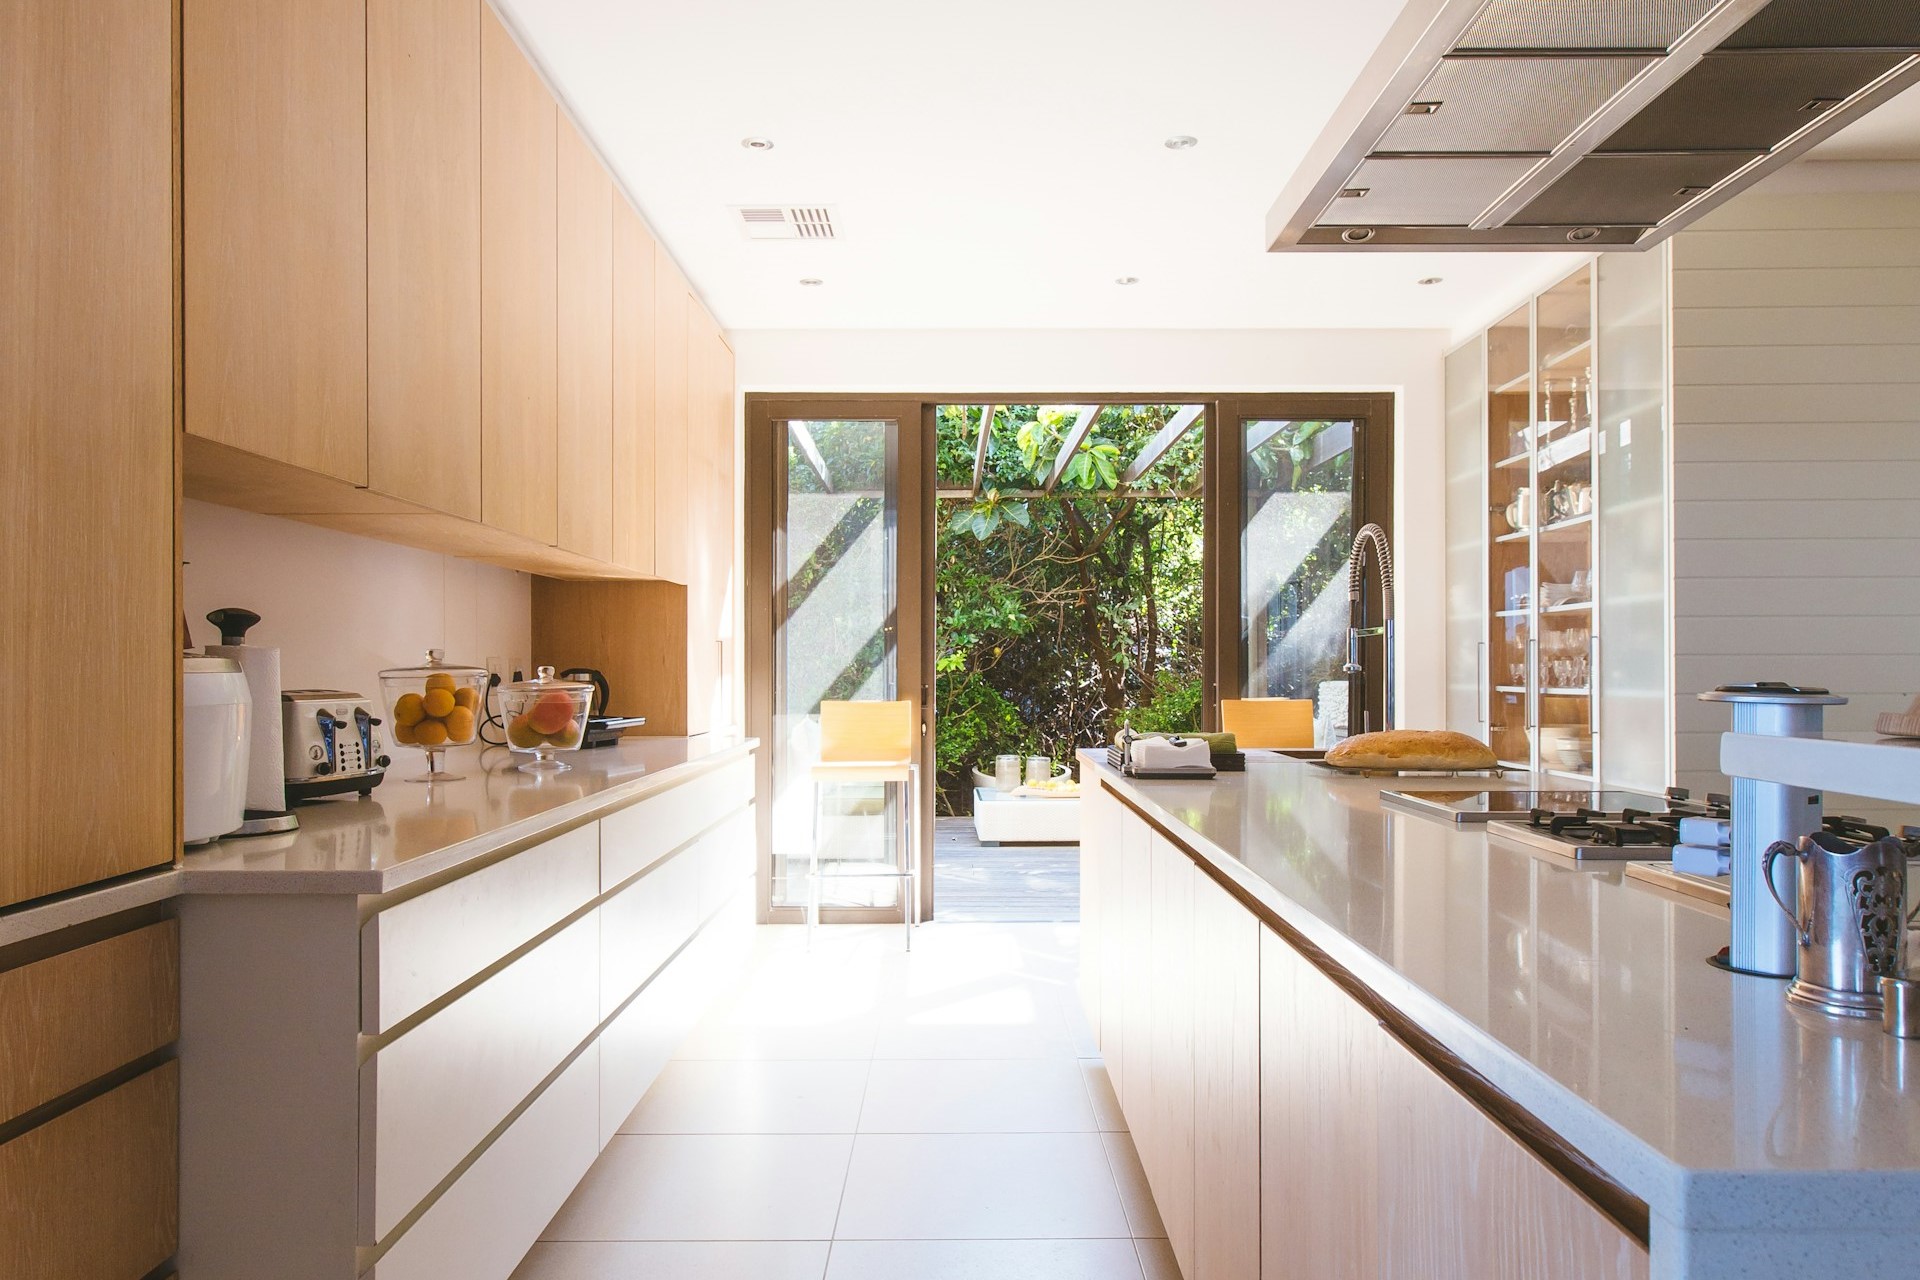
11. Enjoy Your newly painted space!
Final Thoughts
DIY interior painting can be deeply satisfying, and with the right preparation, tools, and techniques, achieving a professional-quality finish is entirely possible. Remember to take your time, particularly during the prep and cutting-in stages, as these steps lay the groundwork for those flawless results. With diligent work and a bit of patience, your painted space will look fresh and vibrant, infused with your personal touch.
Start your painting project by requesting a virtual quote.
.svg)
Explore Pro Painters, full-service painting solutions.
.svg)
.svg)
.svg)
.svg)


Recommended Articles
How to Choose and Work with a Professional Exterior Painter
The Ultimate Guide to Calculating the Right Amount of Paint for Your Project
The Best Time of Year for Exterior Painting Projects

For over 20 years, Pro Painters has delivered professional, award-winning painting services with precision, passion, and excellent craftsmanship you can trust.

.svg)